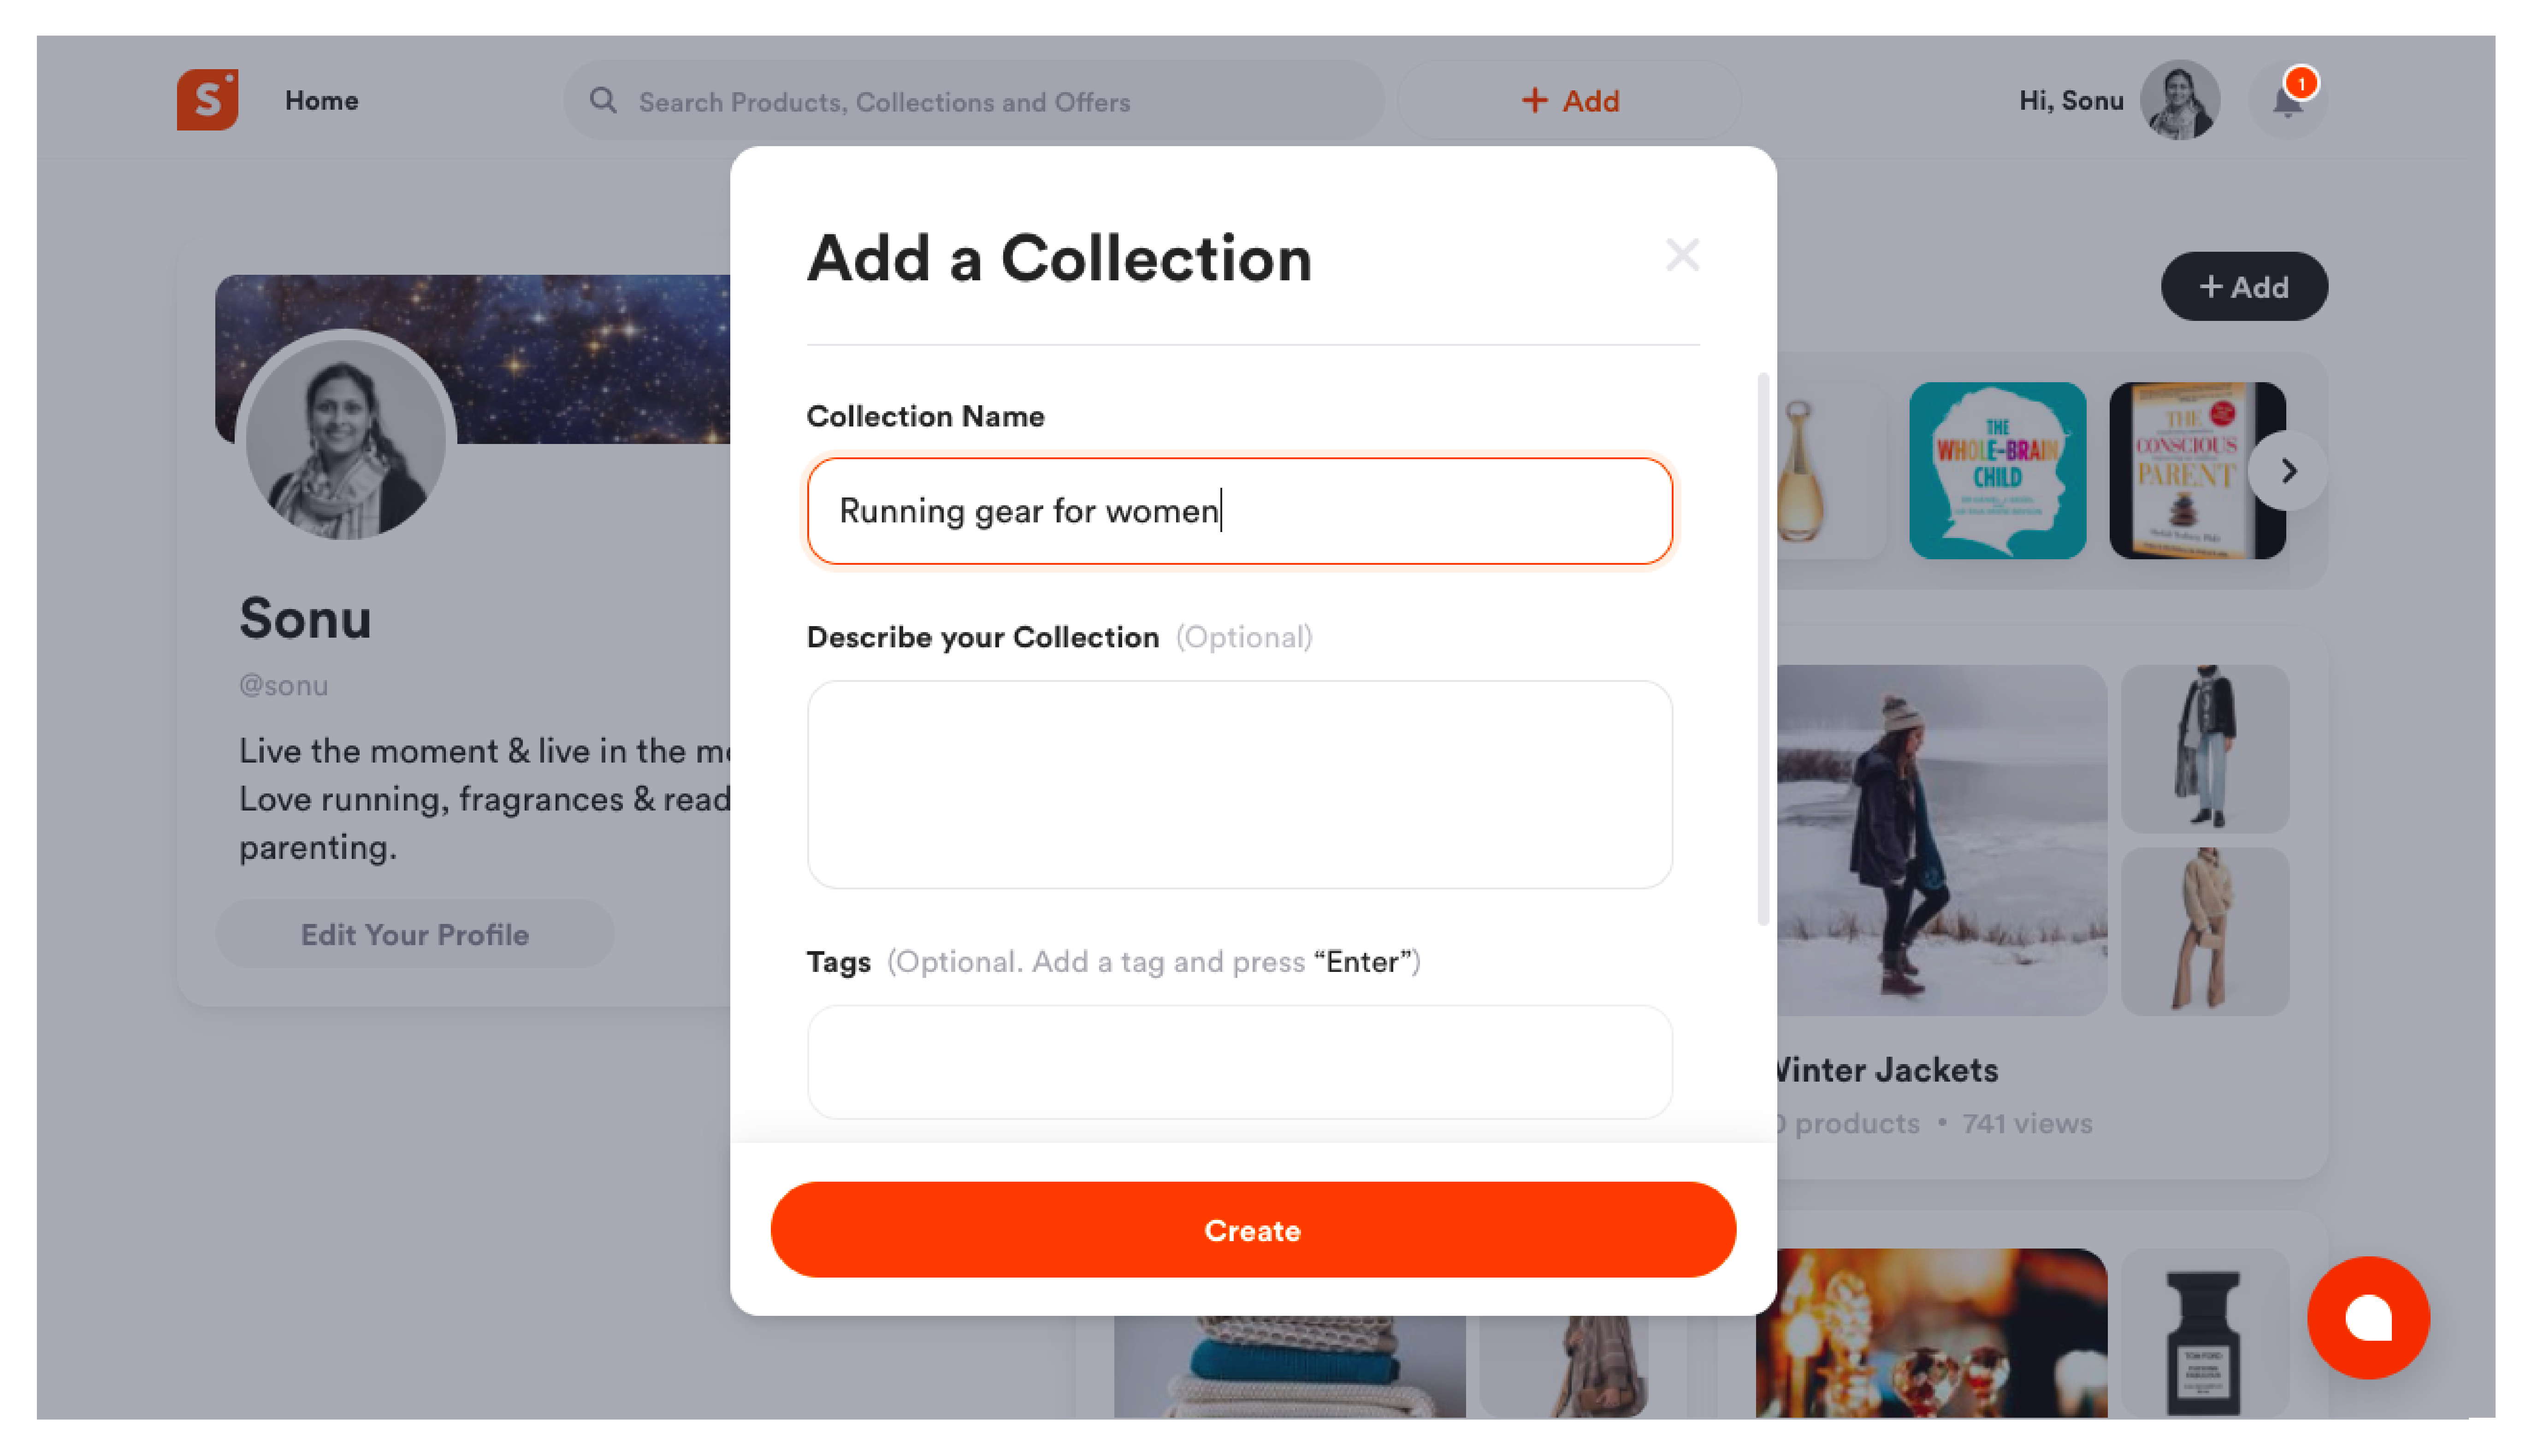
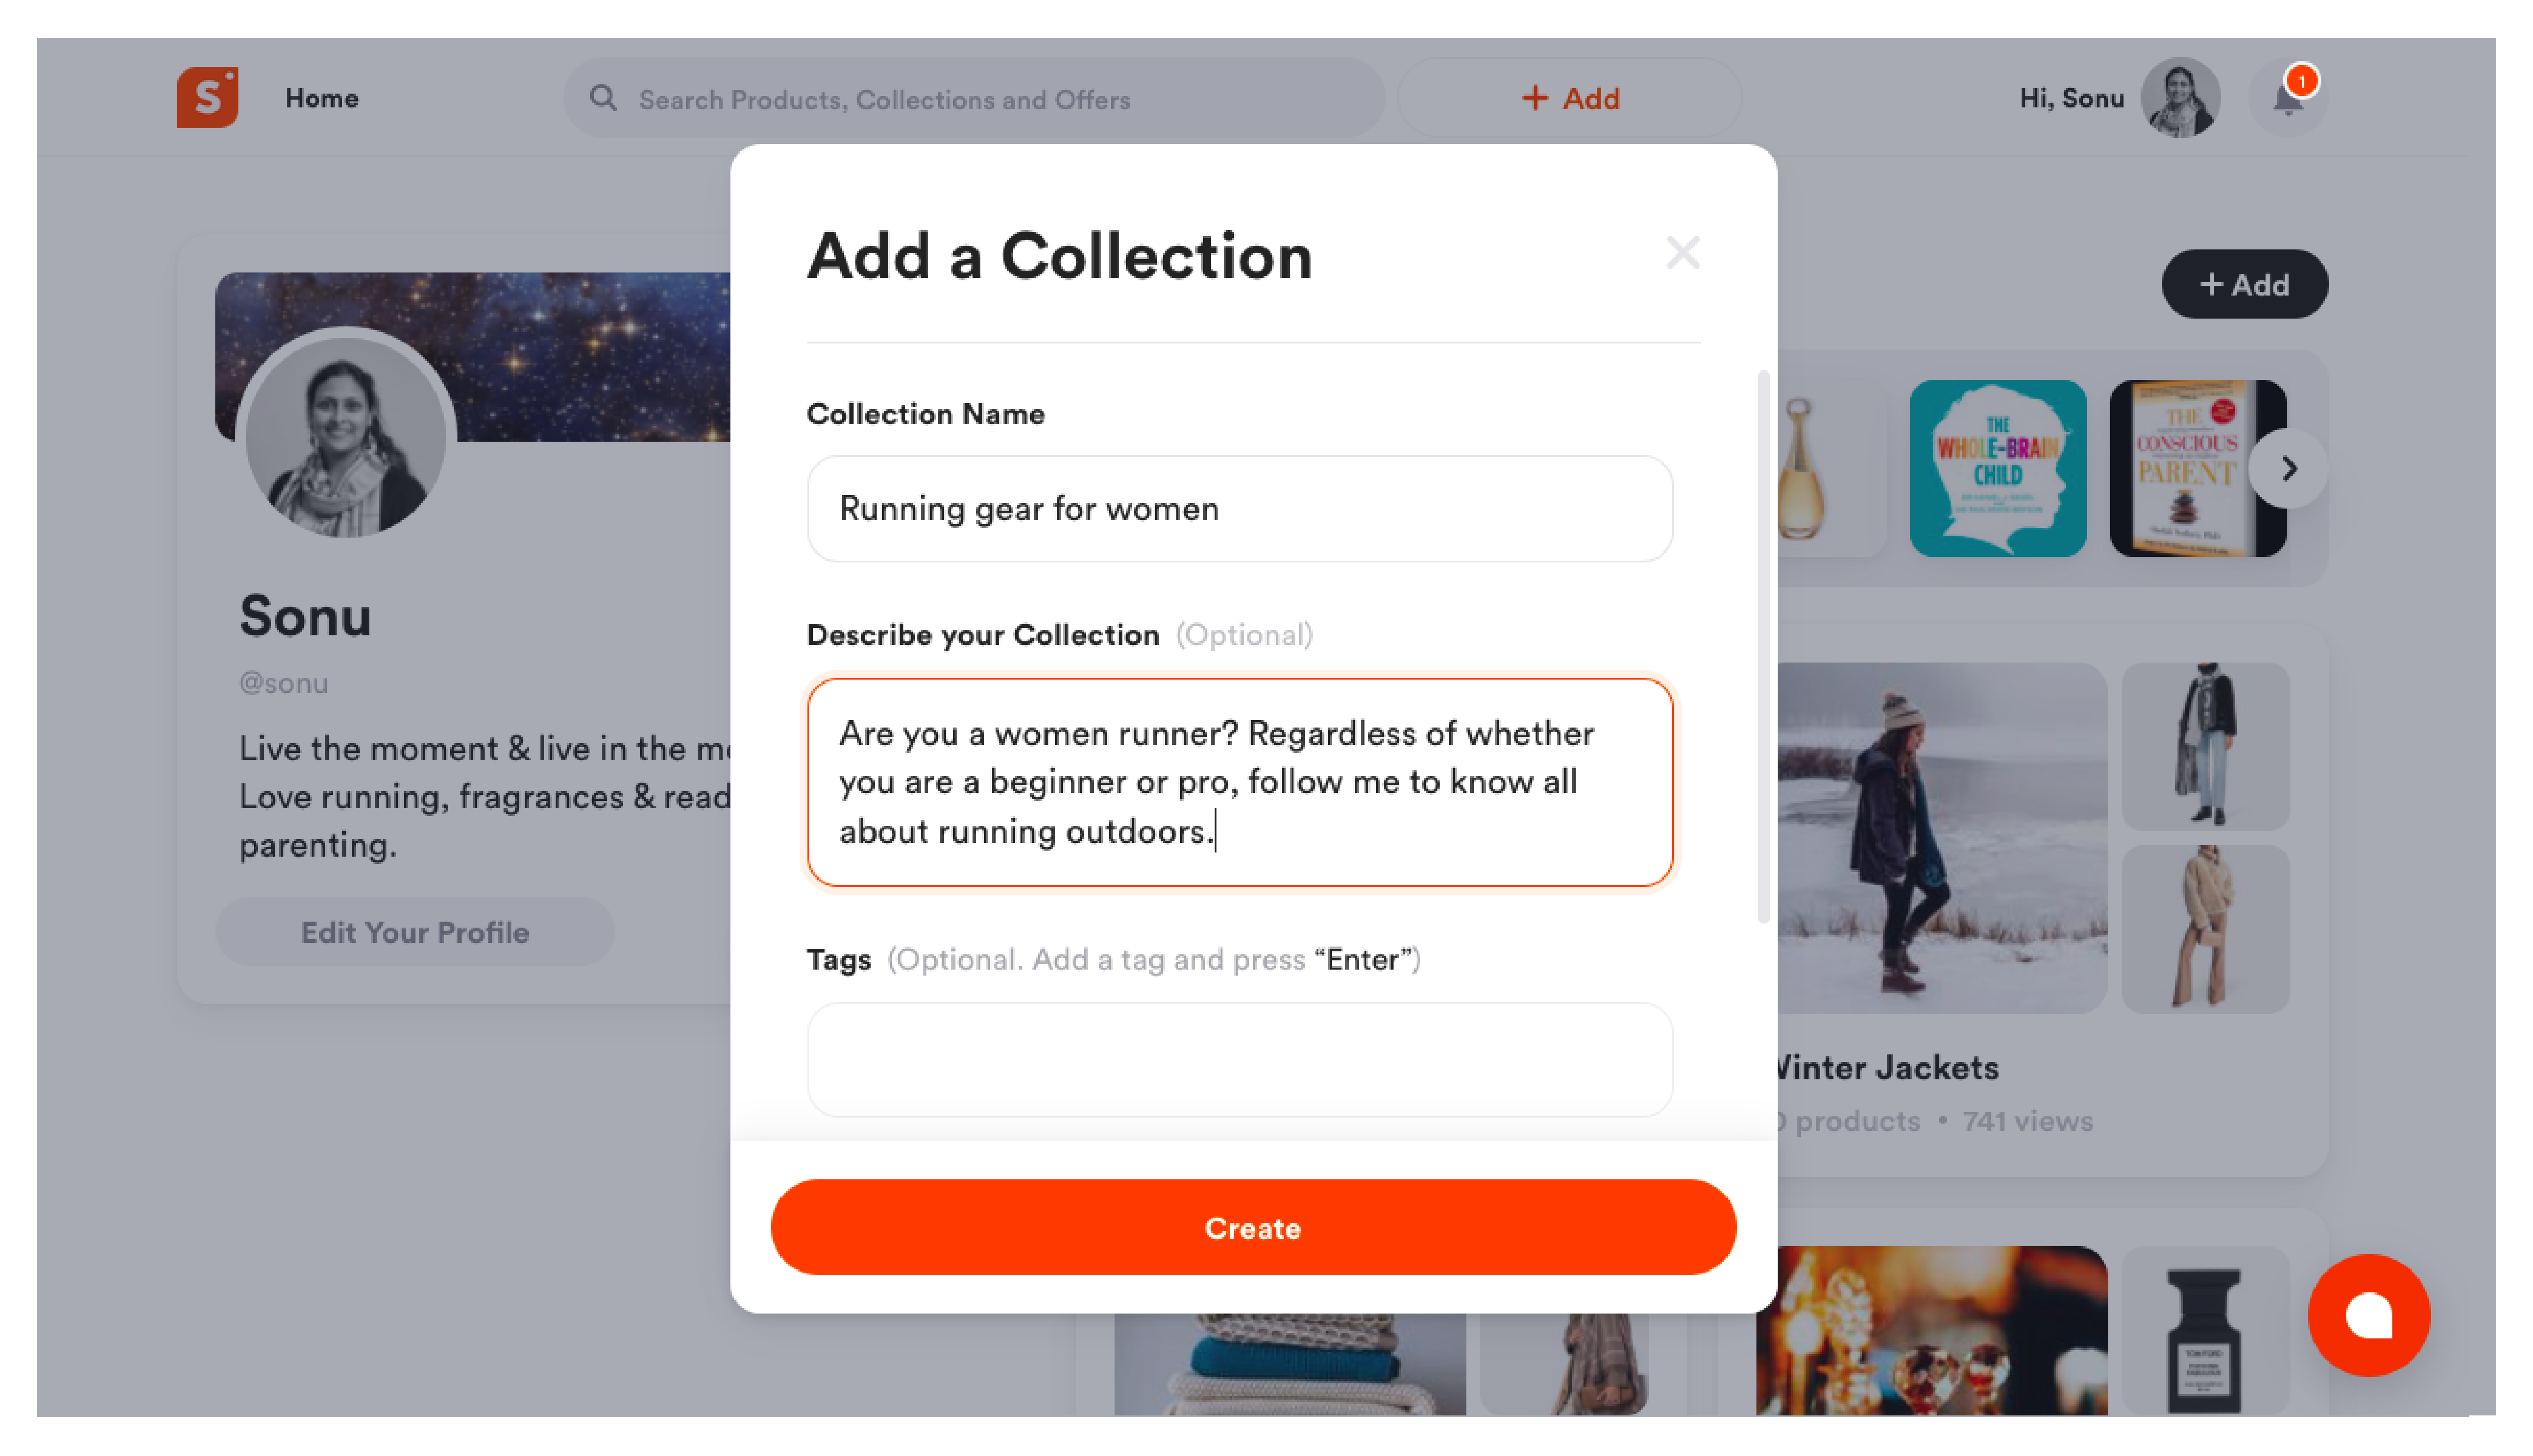
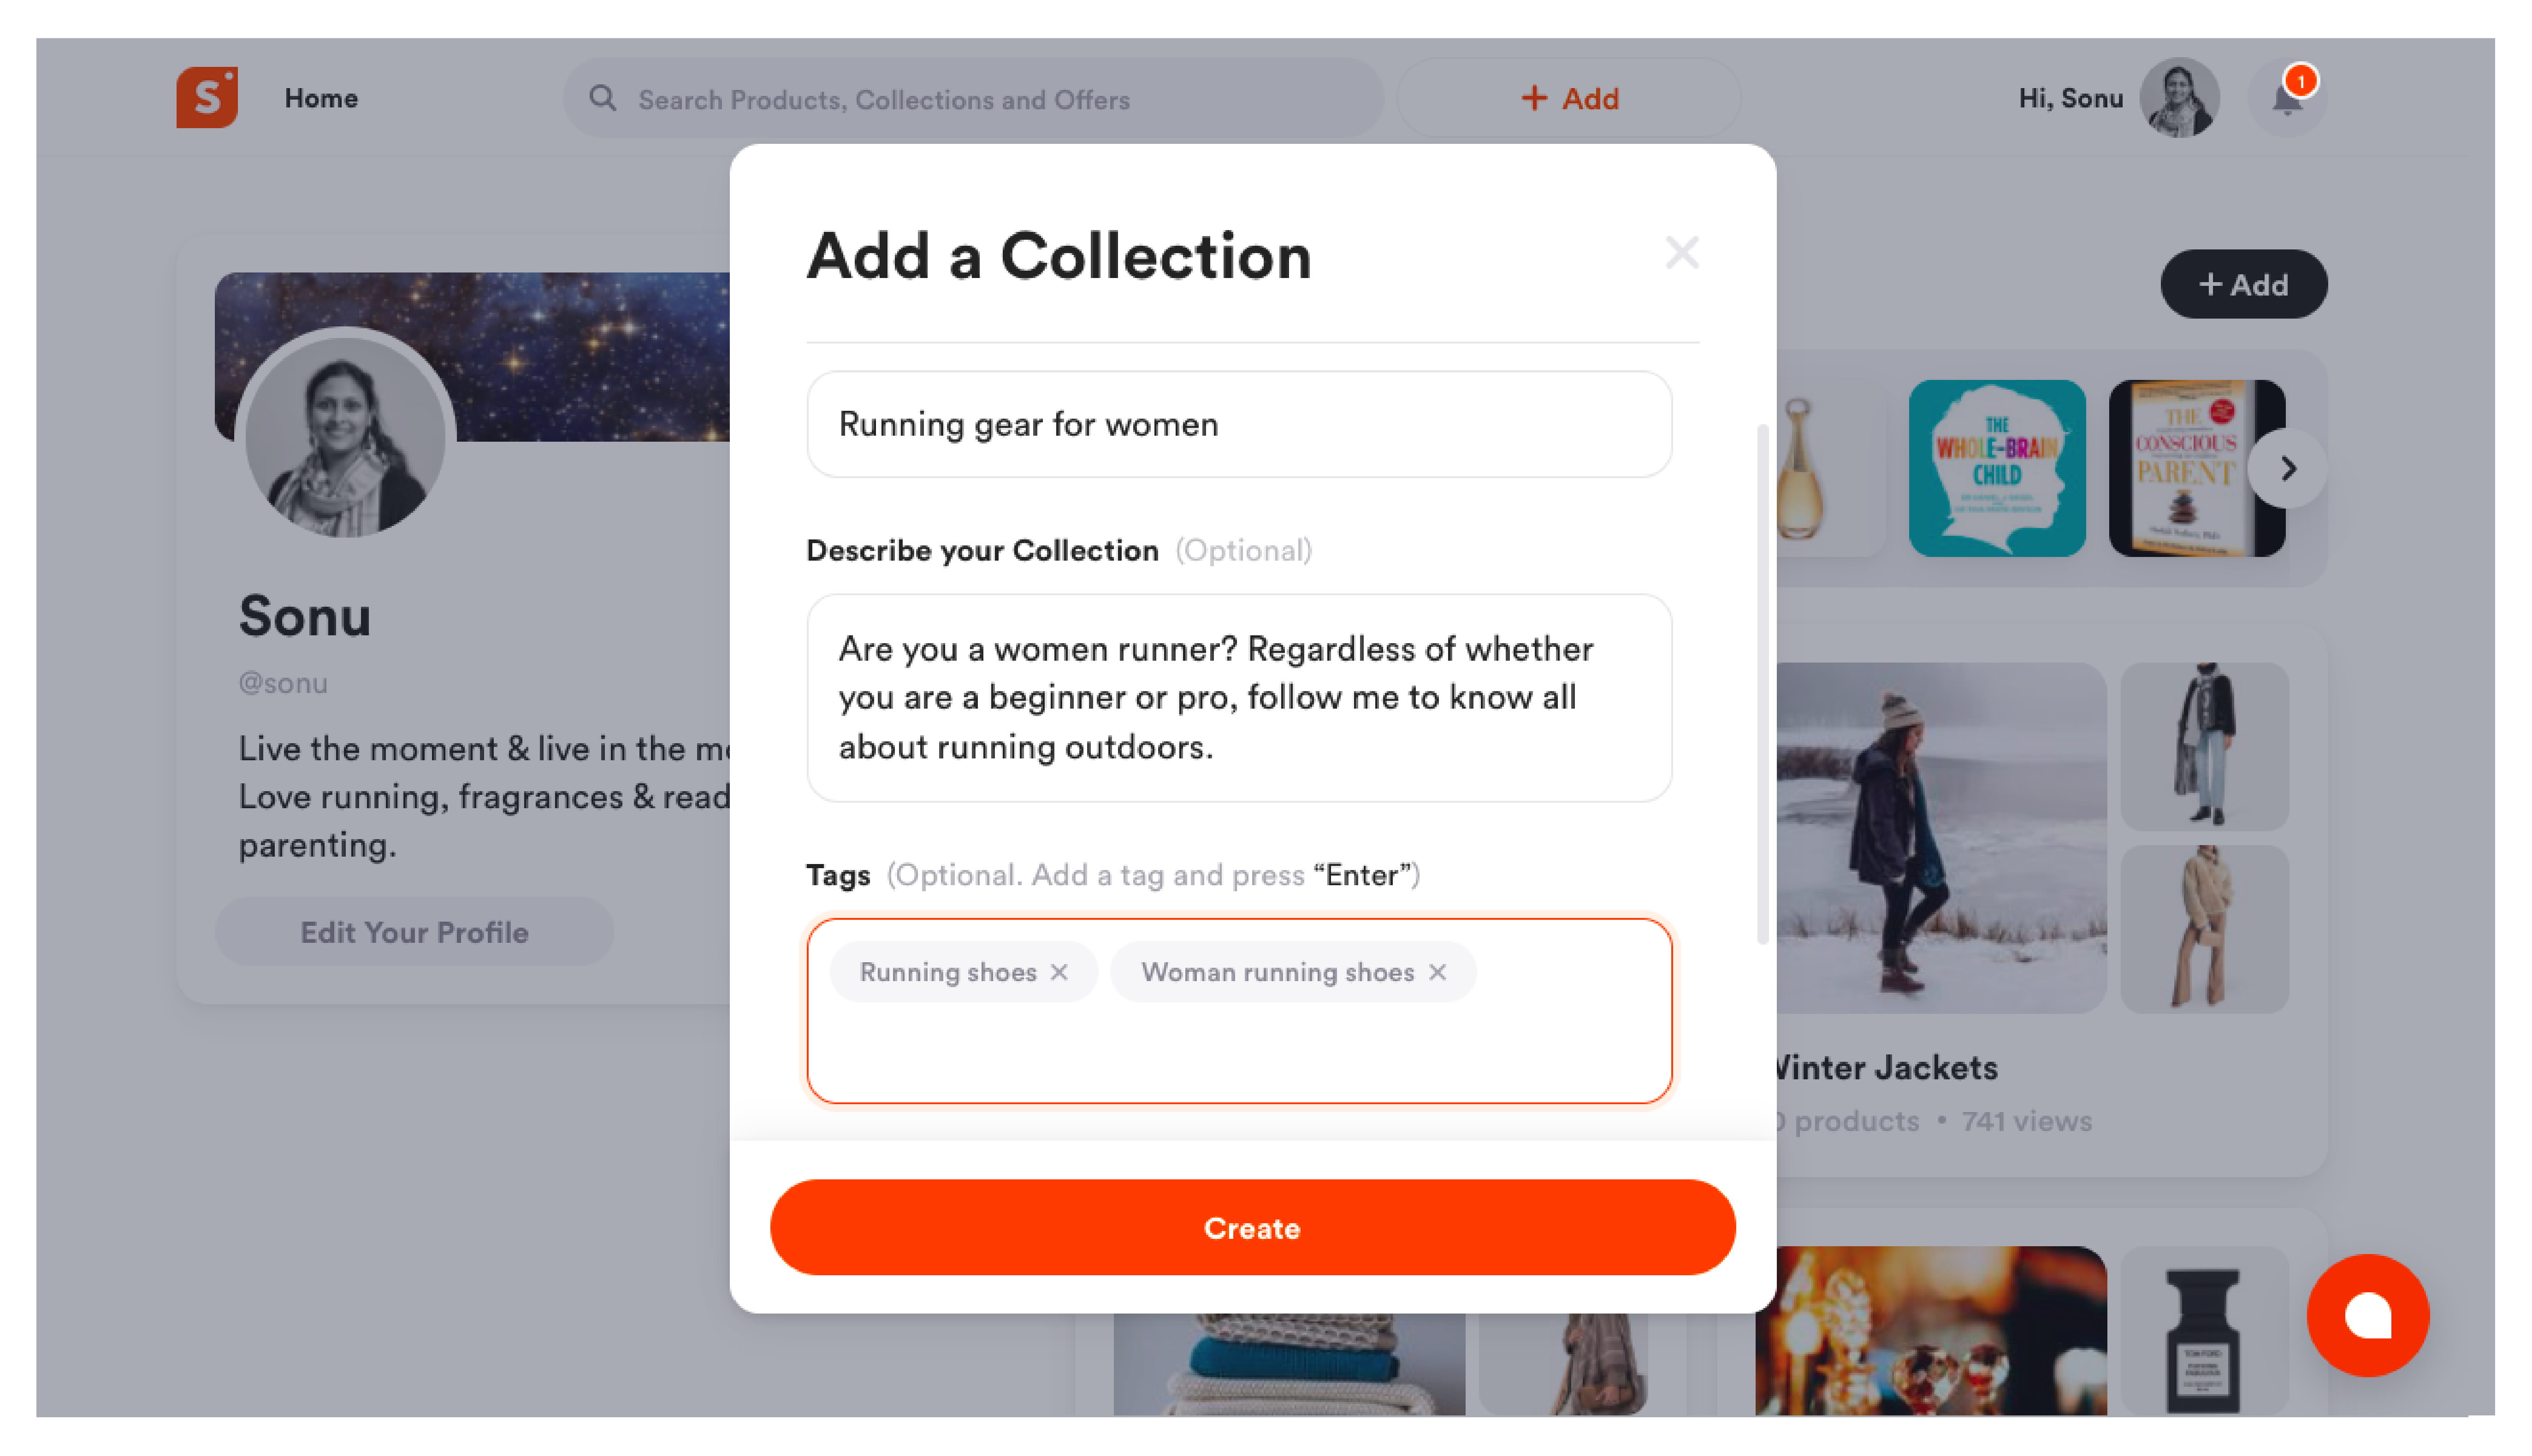
One of the best features that Shopper offers is to organise their products into personalised collections. Similar Products can be grouped as a collection.
For instance, if your audience is looking specifically for your home recording set-up, you can simply make a collection that includes all the equipment that was used in your home recording set-up.
To create a collection, you are required to have:
- Name
- Description
- Tags for the Collection
The collection name should represent what the content or collection is all about so that users can get the product they want without going through hundreds of irrelevant products.

Include a brief of what all contents a user can expect to see in the collection as the description.

Add up to three tags to attract people to the product you feature. Think about three tags that people would search to find your content for maximum clicks to the right products.

You can also have a cover image for your collection if you choose to add one. The cover image can be used to represent what the collection is all about.
The ideal dimensions required for the collection's cover image are as follows:
For landscape images Width: 1120 px - Height: 500 px
For portrait images Width: 400 px - Height: 500 px
Private Collections
Collections on Shopper are fully customizable and you get to decide what you want, and what you don’t need. You also have full access to decide whether you want to share the collection with an audience or restrict the audience visibility at any given time.
Shopper has two default visibility options for the users, and this can be changed around as required. By default, all collections are set to public.
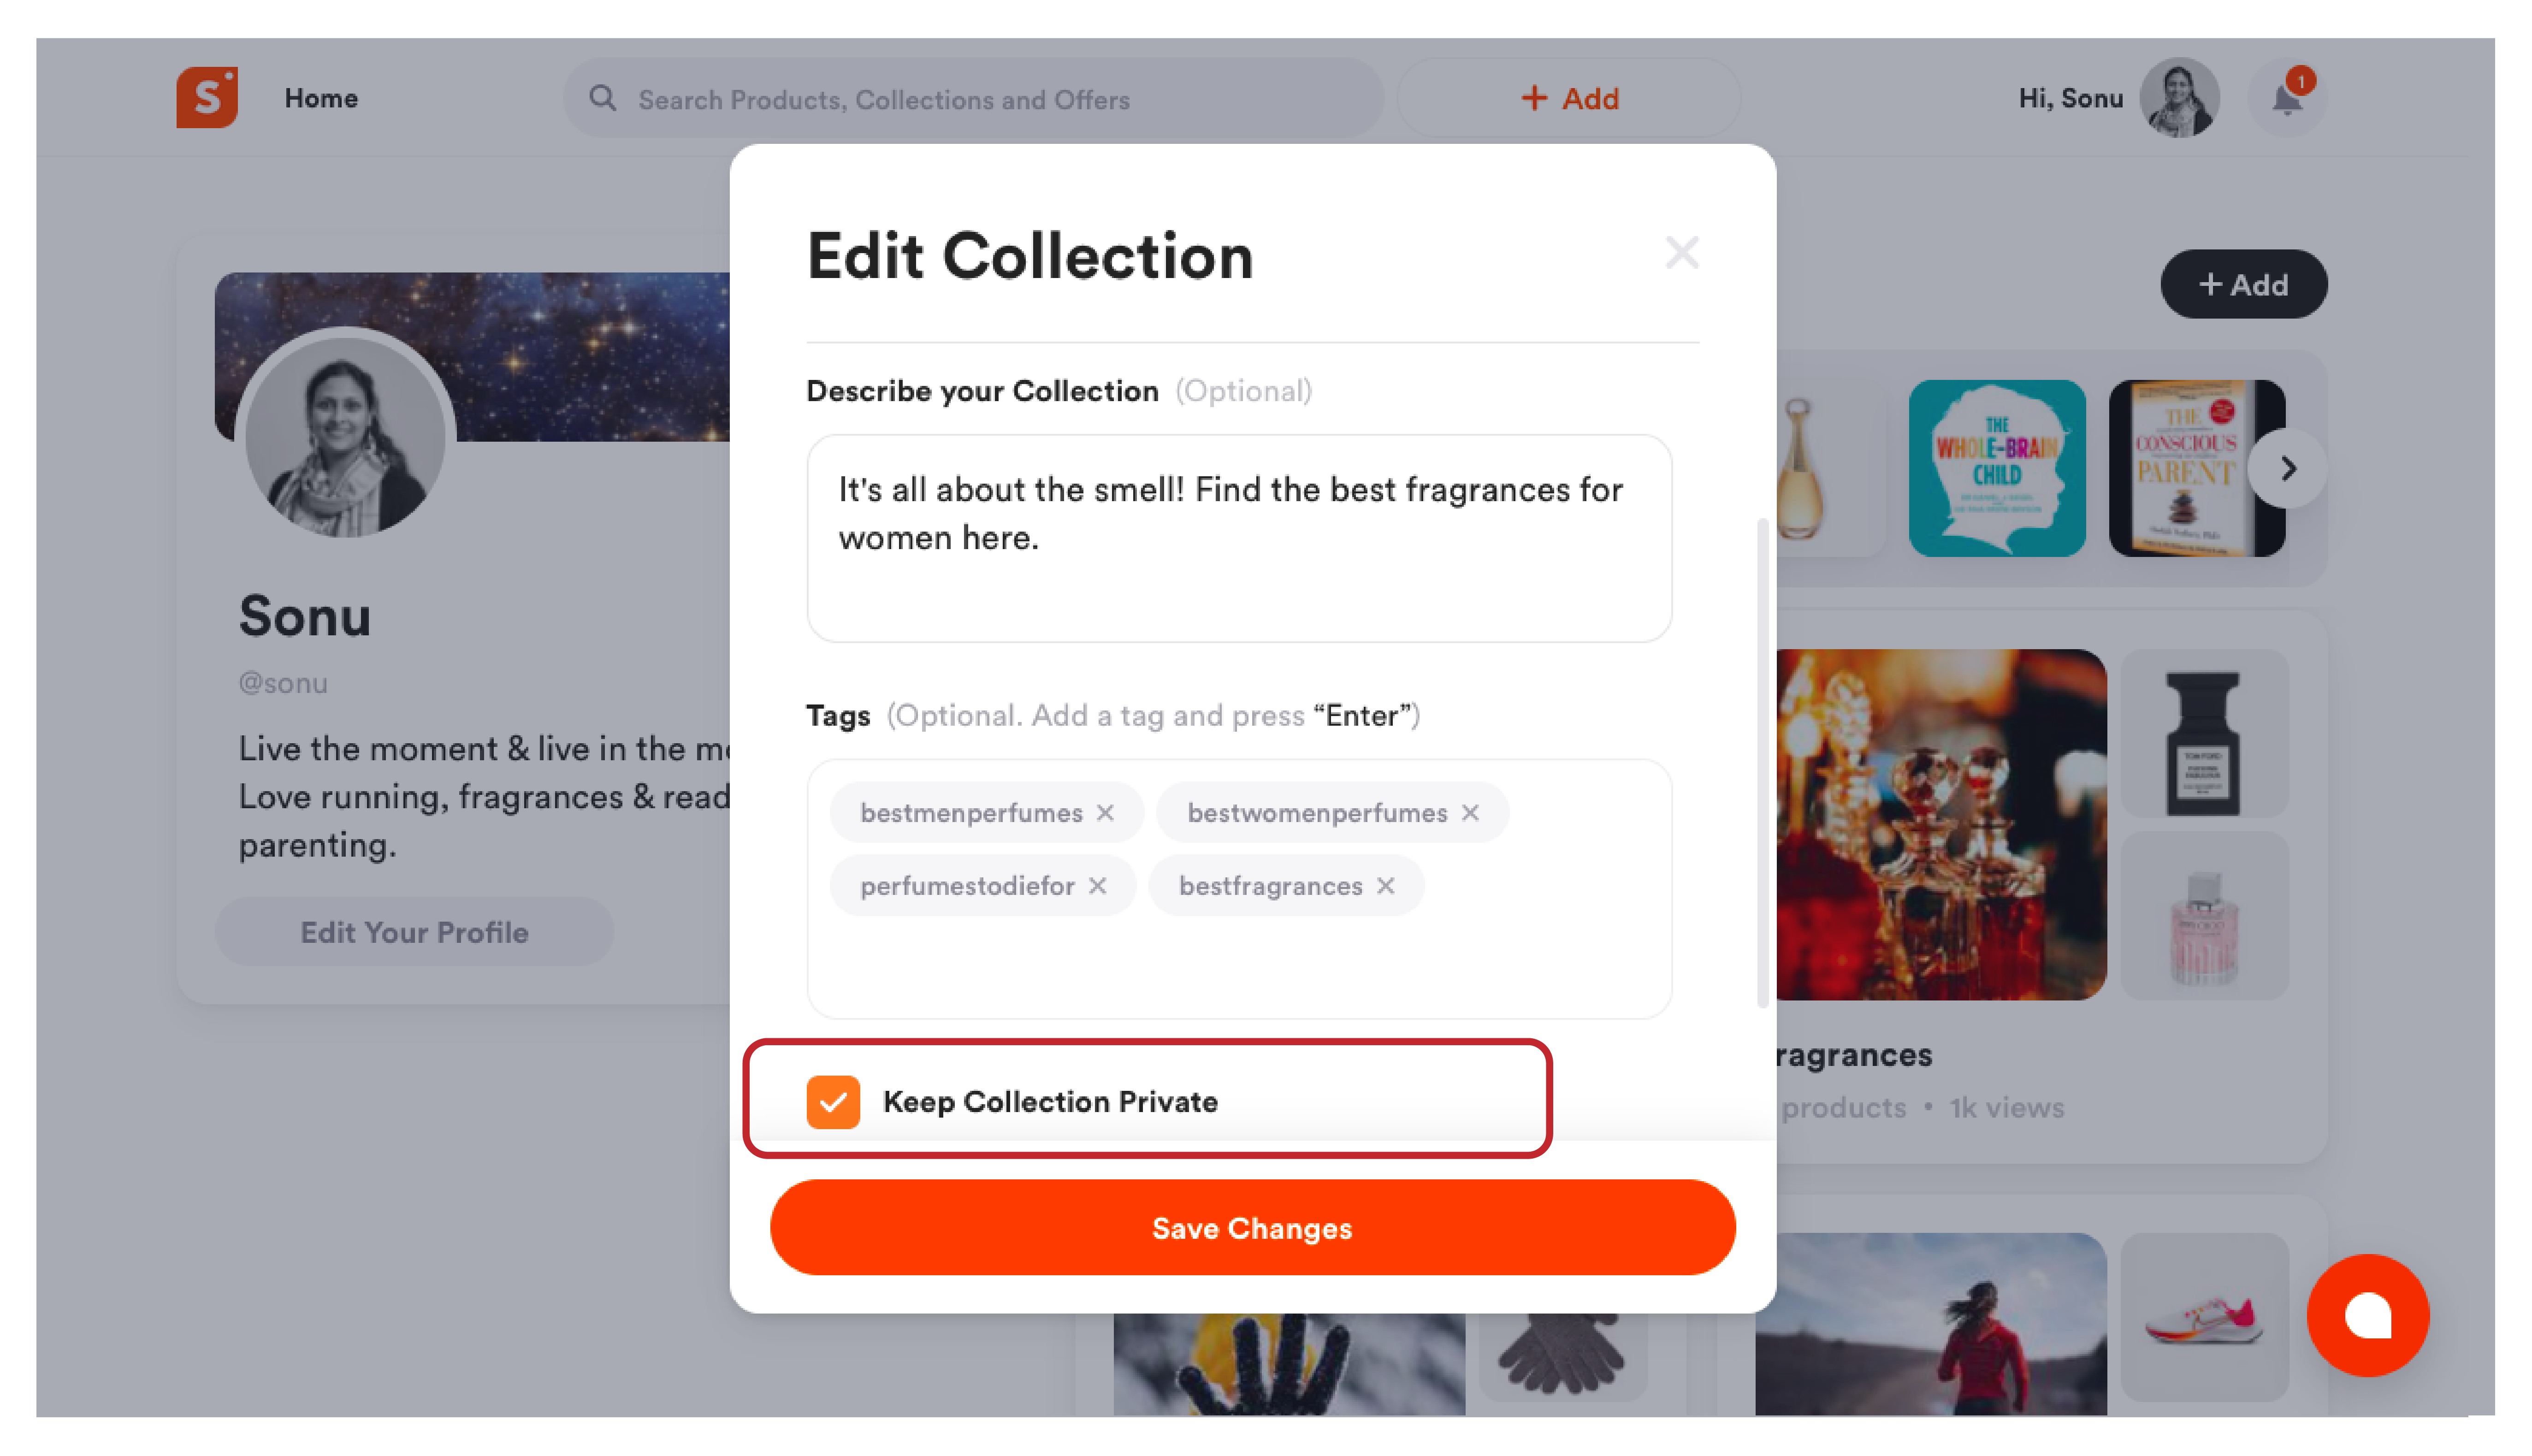
However, if you want to change an existing public collection to a private collection on Shopper, you will need to follow these steps:

- Head over to the Shopper collection you wish to change.
- Hover over the title collection and tap on the three-dot symbol.
- From the drop-down that appears, click on “Edit.”
- You can change the collection name, description and tags.
- Scroll down until you come across the “Keep Collections Private” option.
- Tap the option to change the visibility of the collection from public to private.
- Once everything’s done, click on “Save Changes” to reflect the changes.
